
Adding Recessed Lighting? Here's the Drywall Work Involved
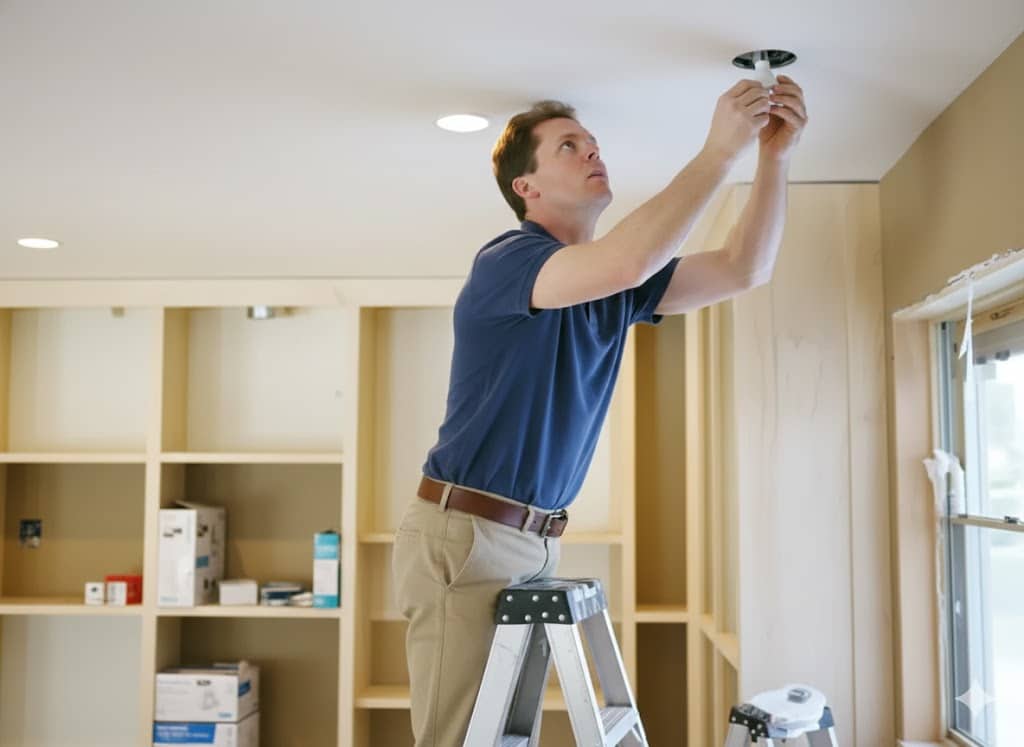
Adding recessed lighting to an existing room is one of the more popular electrical upgrades DFW homeowners request, but the ceiling cuts required for new fixtures need proper drywall finishing once the electrical work is complete.
Why Recessed Lighting Requires Ceiling Cuts
Each new recessed fixture typically requires cutting a hole sized to the specific can light, and while most of this opening is filled by the fixture itself, the surrounding area often needs minor patching and blending.
Common Drywall Issues After Recessed Lighting Installation
- Small gaps or rough edges around the fixture trim
- Adjacent minor cracking from the cutting process
- Texture inconsistency if the ceiling had existing texture that wasn't matched around new openings
The Finishing Process
- Assessing the area immediately around each new fixture for any gaps or rough cutting
- Filling and smoothing any visible gaps with joint compound
- Texture matching the immediate area to the surrounding ceiling
- Priming and touch-up painting to blend seamlessly
Why This Detail Gets Overlooked
Electricians typically focus on the wiring and fixture installation itself, meaning the finishing touches around each new opening are often left less polished than a dedicated drywall finish would provide.
Completing Your Lighting Upgrade Properly
A recessed lighting project isn't truly finished until the ceiling around each new fixture looks seamless, with no visible cutting marks or texture mismatch.
Recently added recessed lighting and need finishing work? Get your free estimate today.
BLOG 139 — Repairing Drywall Damage from Security System or Smart Home Installation
Blog Title: Patching Drywall After Smart Home and Security System Installation
Title Tag: Smart Home Installation Drywall Repair DFW | KC10
Meta Description: New wiring for smart home devices often leaves wall damage. KC10 Remodels patches and matches these repairs throughout DFW.
Body:
Installing a security system, smart doorbell, or home automation wiring often requires running new cable through walls, leaving behind small access holes and sometimes larger openings where wiring needed to travel between floors or rooms.
Why This Type of Work Creates Drywall Damage
Low-voltage wiring for security cameras, smart thermostats, or automation panels frequently needs to be fished through wall cavities, requiring small access cuts at multiple points along the wiring path.
Common Repair Locations
- Near new keypad or panel installations
- Where wiring was fished between floors through wall cavities
- Around relocated or newly added outlets for smart devices
- Near exterior walls where security cameras were mounted
The Repair Process
- Assessing each access point along the wiring path
- Patching holes with appropriately sized drywall patches or compound, depending on size
- Texture matching each repaired area to the surrounding wall
- Priming and painting to blend seamlessly
Why Multiple Small Repairs Are Common With This Work
Because wiring often needs to travel a meaningful distance through walls, a single smart home installation can leave behind several separate repair points throughout a home, making it efficient to address them all in one visit.
Finishing the Installation Properly
A smart home or security upgrade isn't complete until the walls are restored to their original, unblemished condition.

Recently had smart home or security wiring installed? Request your free estimate today.
KC10 Remodels
Find Us On


