
Damaged Corner Bead: Why This Small Drywall Detail Matters More Than You'd Think
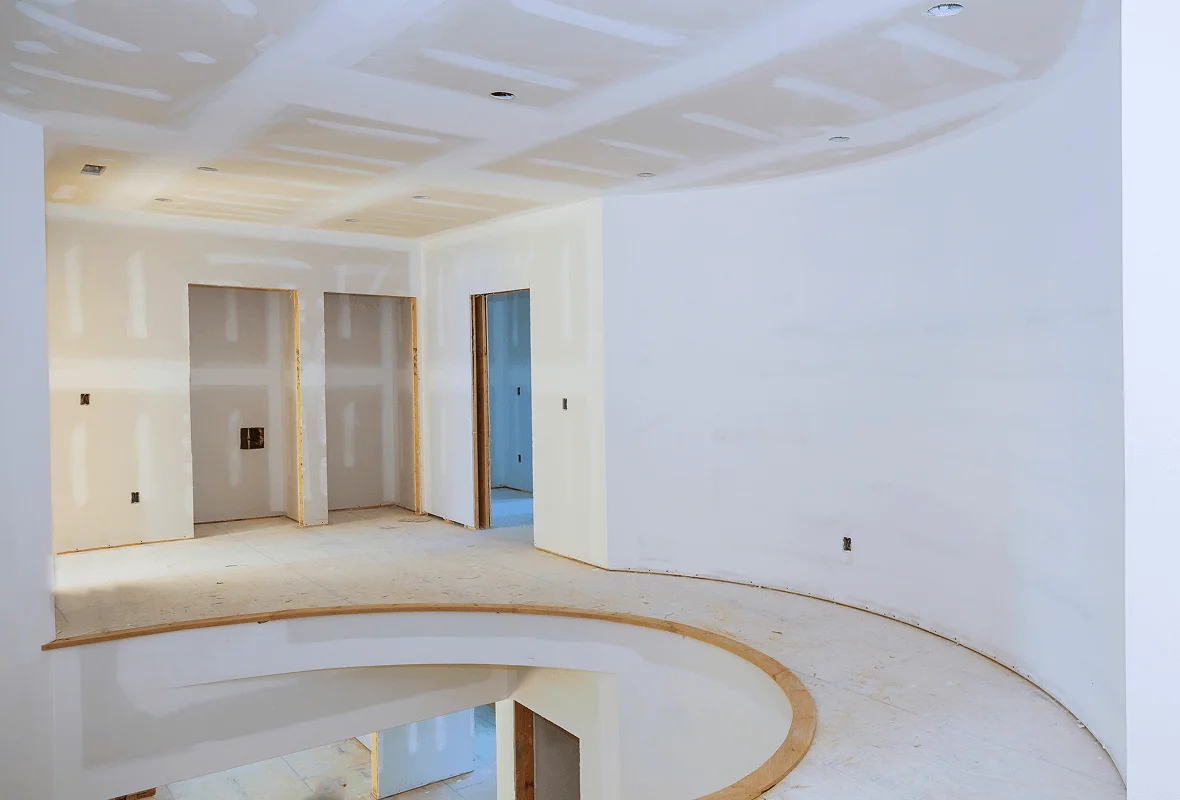
Every outside corner in a home — where two walls meet at an outward angle, like a hallway corner or the edge of a kitchen peninsula — relies on a metal or plastic strip called corner bead embedded in the drywall to create a clean, straight, protected edge. These corners take more physical impact than flat wall surfaces, and when corner bead gets dented, cracked, or knocked loose, the damage is often more noticeable than a similar-sized issue on a flat wall.
Why Corners Are More Vulnerable Than Flat Walls
Outside corners stick out into a room's traffic path, making them prone to impact from furniture being moved, luggage being carried through hallways, vacuum cleaners, and general foot traffic bumping against these protruding edges more than any flat wall surface would experience.
What Corner Bead Damage Looks Like
- Dents or dings along the corner edge, sometimes exposing the metal or plastic bead underneath
- Cracking in the joint compound along the corner, even if the underlying bead itself isn't damaged
- A corner that no longer feels straight or sharp to the touch
- Visible gaps or separation where the corner bead has come loose from the wall
- Chipped or crumbling compound along the edge from repeated impact over time
Why This Damage Stands Out More Than Flat Wall Damage
Because corners are a sharp, defined line that the eye naturally follows, any irregularity — a dent, a crack, a bulge — draws attention in a way that a similar flaw on a flat wall surface might not. A damaged corner near an entryway or hallway is one of those details that, once noticed, becomes hard to ignore.
The Corner Bead Repair Process
1. Assessing the Damage
Determining whether the underlying corner bead itself is bent, cracked, or has come loose, versus damage limited to just the surface compound.
2. Removing Damaged Material
Any loose or cracked joint compound is removed, and if the corner bead itself is damaged, it may need to be cut out and replaced with a new section.
3. Reinstalling or Repairing the Bead
A new section of corner bead is installed if needed, secured properly to the underlying drywall.
4. Applying Joint Compound
Multiple thin coats of joint compound are applied over the corner, feathered out on both sides to create a smooth, seamless transition.
5. Sanding to a Sharp, Clean Edge
Careful sanding restores a crisp, straight corner line, which is essential for the repair to look professionally finished rather than rounded or uneven.
6. Priming and Painting
The repaired corner is primed and painted to match the surrounding walls.
Common Locations for Corner Bead Damage
- Hallway corners, particularly near stairwells or frequently used pathways
- Kitchen peninsula or island corners
- Corners near doorways where furniture or luggage is regularly moved through
- Exposed corners in mudrooms or entryways
Why DIY Corner Repairs Often Look Uneven
Achieving a straight, sharp corner line requires specific technique and tools to properly feather the joint compound and maintain a crisp edge. DIY attempts often result in a corner that looks slightly rounded, wavy, or uneven compared to the sharp lines found elsewhere in the home.
Preventing Future Corner Damage
- Adding corner guards or bumpers in high-traffic areas prone to repeated impact
- Being mindful when moving furniture or luggage through narrow hallways
- Addressing minor dings promptly before they worsen with repeated impact
Restoring Clean, Sharp Lines Throughout Your Home
A damaged corner might seem like a minor issue, but because these edges are such a visually prominent feature in any hallway or room, professional repair restores the kind of clean, sharp lines that make a home feel genuinely well-maintained and finished.

Have damaged corners that need professional repair? Get your free estimate today.
KC10 Remodels
Find Us On


