
Removing Old Wallpaper in Your DFW Home? Here's What Your Walls Need Afterward
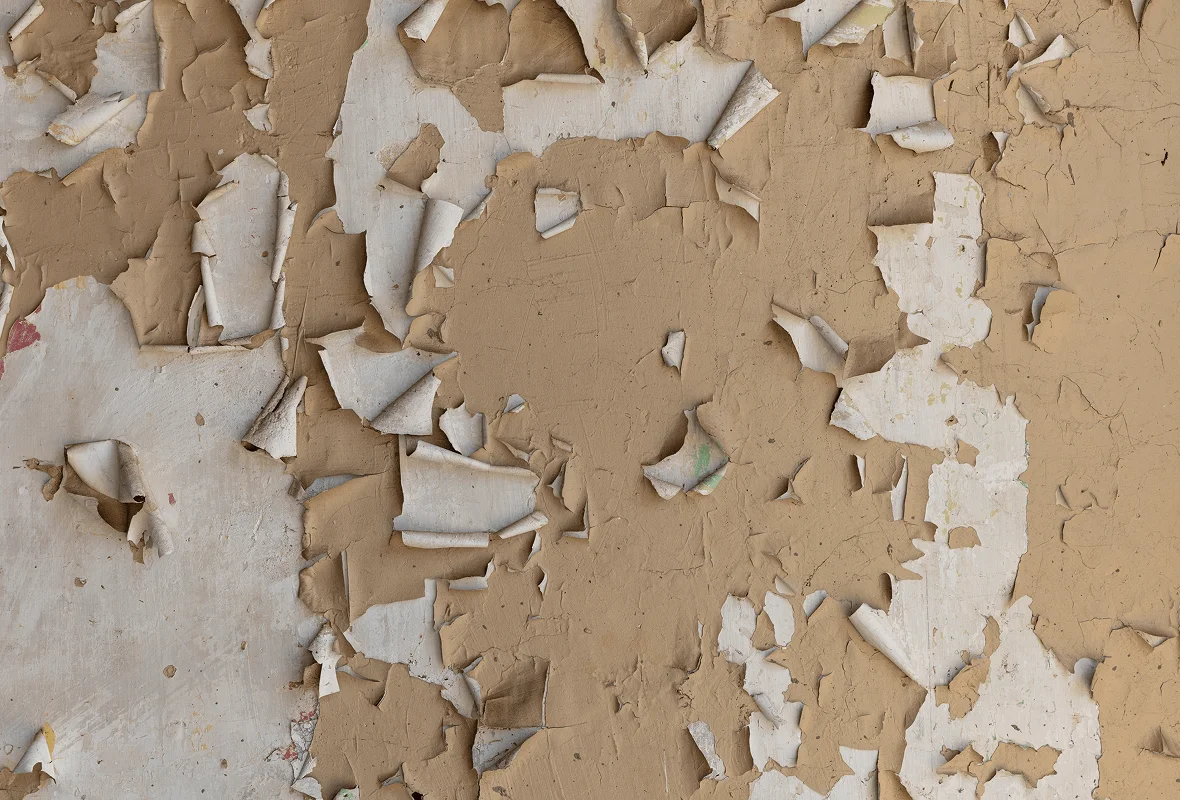
Removing old wallpaper is often the first step homeowners take when updating a dated room — but what's revealed underneath frequently isn't a clean, paint-ready wall. Old adhesive residue, torn paper backing, and sometimes damaged drywall paper facing are common realities of wallpaper removal, and addressing these issues properly is essential before any fresh paint goes on.
Why Wallpaper Removal Often Damages the Wall Underneath
Wallpaper adhesive bonds directly to the paper facing of drywall, and removing wallpaper — particularly older wallpaper that's been in place for years or decades — can pull away portions of that paper facing along with the wallpaper itself, leaving a rough, damaged surface rather than smooth, paintable drywall.
Common Issues Found After Wallpaper Removal
Adhesive Residue
Even after the wallpaper itself is removed, leftover adhesive often remains on the wall surface, which can interfere with proper paint adhesion if not fully cleaned off.
Torn Drywall Paper Facing
In areas where the wallpaper bonded particularly well, removal can tear away sections of the drywall's paper surface, leaving a rough, fuzzy texture that won't paint smoothly without repair.
Old Seams and Texture Inconsistencies
Walls that had wallpaper for years sometimes reveal old drywall seams, patches, or texture variations that were previously hidden but become visible once the wallpaper comes down.
Water Damage or Mold
In some cases, wallpaper has been concealing underlying moisture damage or mold growth that wasn't visible until the wallpaper was removed.
The Repair Process After Wallpaper Removal
1. Removing Remaining Adhesive
Any leftover adhesive residue needs to be fully cleaned from the wall surface before repair work begins.
2. Assessing Paper Facing Damage
Areas where the drywall's paper facing was torn or damaged need to be addressed — sometimes with a skim coat of joint compound to smooth over damaged texture.
3. Skim Coating for Uneven Surfaces
For walls with significant surface damage from wallpaper removal, a full skim coat of joint compound across the entire wall creates a smooth, uniform surface ready for paint.
4. Repairing Old Seams or Cracks
Any old drywall seams or cracks revealed after wallpaper removal are patched and blended using standard drywall repair techniques.
5. Texture Application (If Needed)
If the wall needs to match texture found elsewhere in the home, texture is applied and blended accordingly; otherwise, a smooth finish is typically achieved through proper skim coating.
6. Priming
A quality primer, particularly one designed to seal any remaining adhesive residue, ensures the new paint adheres properly and doesn't reveal any underlying issues.
Why Skipping This Step Leads to Poor Paint Results
Painting directly over wallpaper adhesive residue or torn paper facing often results in an uneven, textured, or peeling paint finish, since the paint isn't adhering to a proper, prepared surface. This is one of the most common reasons a DIY wallpaper removal and repaint project doesn't achieve the smooth, professional look homeowners expect.
Addressing Any Underlying Issues Discovered
If wallpaper removal reveals water damage, mold, or significant structural drywall issues, these need to be properly addressed — not just cosmetically covered — before moving forward with repair and repainting.
Why Professional Repair Delivers Better Results
Because wallpaper removal damage varies significantly depending on the wallpaper type, adhesive used, and how long it had been in place, professional assessment and repair ensures the right approach — full skim coating, targeted patching, or texture matching — is used for your specific wall condition, rather than a generic approach that might not fully address the underlying surface issues.
Getting a Truly Fresh Start
Removing outdated wallpaper is often the right first step toward modernizing a room, but the real transformation happens with proper wall repair and preparation afterward — turning a damaged, adhesive-covered surface into a smooth, paint-ready wall that will hold a fresh color beautifully.

Removed wallpaper and need your walls repaired? Request your free estimate today.
KC10 Remodels
Find Us On


